To contribute to Ubuntu, manage Personal Package Archives (PPAs), or track software bugs, you need a Launchpad account. This platform connects you to the open-source ecosystem. You’ll find the process straightforward, but it requires specific security steps.
Note: This guide covers Canonical Launchpad. If you need Macmillan Learning, visit their site directly.
Understand the Identity System
Launchpad does not maintain its own database of users. Instead, it uses Ubuntu One, a single sign-on (SSO) service. You create an Ubuntu One account, and Launchpad uses that identity to log you in. This means you can use the same credentials for Ubuntu One, Launchpad, and other Canonical services.
Step 1: Initiate the Registration
Open your browser and navigate to Brevard Launchpad. Locate the Log in / Register link in the top-right corner. Click it. You will notice the browser redirects you to login.ubuntu.com. Do not worry; this redirection works exactly as intended.
Step 2: Enter Your Credentials
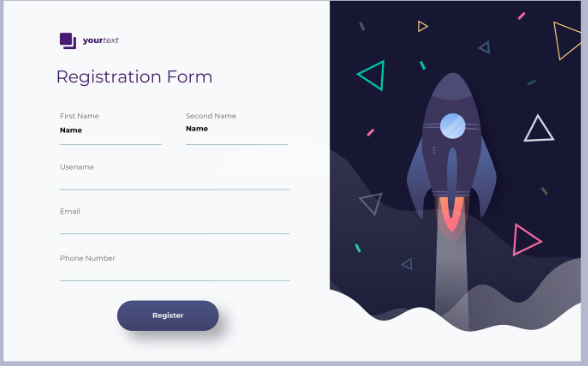
Select the option to create a new account. You must provide a valid email address. Launchpad relies heavily on email for bug notifications and code review requests, so use an address you check frequently.
Enter your full name. Choose a username that represents you professionally. Many developers use the same handle across GitHub and Launchpad to maintain a consistent identity. Create a strong password visit website BPS Launchpad.
Step 3: Verify Your Email
After you submit the form, Ubuntu One sends a verification email. Check your inbox immediately. If you do not see it, check your spam folder. Open the email and click the verification link. This action confirms you own the address. The link returns you to the website, where you can now log in.
Step 4: Configure Your Profile
Once logged in, click your name in the top right to view your profile. You will see a yellow bar warning you that you haven’t signed the Ubuntu Code of Conduct. While not strictly mandatory for all actions, you should sign it if you plan to upload packages or join the Ubuntu Members team.
Step 5: Generate and Add SSH Keys
This step helps you work securely. To push code or upload packages, you need SSH keys. Launchpad does not use password authentication for these transfers.
Open your terminal. Generate a new key pair by typing:
ssh-keygen -t rsa
Press Enter to accept the default file location. You may set a passphrase for extra security. This command creates two files in your .ssh directory: a private key (never share this) and a public key.
View your public key with this command:
cat ~/.ssh/id_rsa.pub
Copy the entire output starting with ssh-rsa. Go back to your Launchpad profile. Look for the SSH keys section. Click the Edit SSH keys button. Paste your key into the text field and click Import Public Key.
You May Also Like-How do I activate Peacock on my TV visit website peacocktv.com/tv.
Step 6: Import Your GPG Key
To sign Code of Conduct agreements or upload packages to a PPA, you need a GPG key.
In your terminal, generate a key:
gpg –full-generate-key
Follow the prompts. Once created, list your keys to find your key ID:
gpg –list-secret-keys –keyid-format LONG
Copy the key ID (the string of characters after sec). Upload this ID to Launchpad in the OpenPGP keys section of your profile. Launchpad will send an encrypted email to verify you own the key. Decrypt that email content in your terminal to retrieve the validation link.
Step 7: Start Contributing
Your account now works. You can report bugs, join teams, or create your own project. If you want to host code, register a new project and push your source using Git or Bazaar. You hold the keys to the platform. Go build something.


